 Winter temperatures in Greenville don’t regularly get below freezing—but when they do, it can cause trouble for your plumbing. Unlike for homes in colder climates, Southern builders sometimes skimp on insulation around pipes, particularly for those connected to the outside of your house.
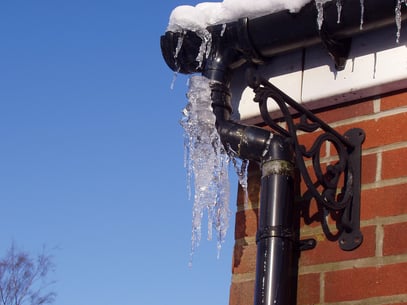
This means that when temperatures do drop, you’ve got the potential for freezing pipes. As you may remember from high school science class, when water freezes, it expands. If the water in your pipes freezes, it increases the pressure on the pipe itself—which could result in a nasty burst.
Occasionally you’ll discover a pipe that’s frozen but hasn’t yet burst. (One sign is that you turn on the faucet or flush the toilet but no water comes out.) You’ll want to help the pipe thaw ASAP, before worse trouble follows. Here’s how to do it:
Take preventative measures
You know what’s even better than thawing a frozen pipe successfully? Preventing the problem in the first place! Check out our list of preventative steps—to decrease the chances of having a frozen pipe.
Thawing a frozen pipe
If it’s too late for that route (or if it’s a particularly cold day) and your pipes have already frozen, follow these steps:
1. First, shut off the water!
Even if you don’t have the sign of a burst, you’ll want to shut off the water to the affected pipes because you won’t know whether they’ve been damaged already. A broken section of pipe may not be evident until the water flows, so turn the water off as a precaution.
2. Gather tools for mopping up any spills
Contingent to the above, you’ll want to make sure you have towels, buckets, a mop, and even a wet vac handy—so once that pipe thaws, you can contain the mess right away. You’ll also want to have your plumber’s contact information on hand in case things turn out worse than you expected.
3. Turn the affected faucets to the "on" position
If the pipe is frozen, chances are nothing’s coming out even when the faucet is turned on. But leave the faucet on anyway so you’ll know when the water begins to flow again.
4. Locate the frozen area, if possible
Here’s where you’ll have to do a bit of sleuthing. Try to identify the spot where a freeze is most likely to have formed. Likely places include:
- Exterior walls
- Anywhere an outside spigot connects to interior plumbing (such as a hose hookup)
- Under sinks
- Basements or other uninsulated areas
- Any place the pipe itself feels cold or has visible frost
5. Gently heat an exposed pipe
If you’ve successfully located the source of the freeze, you’ll want to gently heat the pipe to thaw the water inside. Start with the side closer to the faucet so that thawing water can begin flowing out of the pipe. (If you start at the other end, the water will heat up but be unable to escape due to the ice blockage).
Go slowly and avoid extreme temperature shifts. If you have water available in another part of the house, soak towels in hot water and wrap them around the pipe. Use a space heater as appropriate (making sure to leave plenty of space around it to avoid fire hazards). In a pinch, you can use a hair dryer—but don’t leave it on while it’s unattended! Hair dryers aren’t designed for long use, and can overheat or easily get the intake valve blocked.
It should go without saying that you shouldn't use something dangerous like a blow torch, which can damage your pipes with intense heat, plus risk a fire or personal injury!
6. For a pipe behind a wall, proceed with caution
Unlike an exposed pipe, you can’t directly heat a pipe behind a wall. One thing you can do is turn up the heat in your house—and get ready to get a little toasty! You can also use a heat lamp or a space heater near the suspected trouble spot, but be careful not to damage the paint or the wall itself.
7. Once the water starts flowing, check and double-check for damage
Before turning that water back on, check along the entire affected pipe for any signs of damage or leaks. If the pipe is behind the wall, listen carefully for the sound of dripping, and feel along the wall or floorboards for any moisture.
Once you’re certain you’re in the clear, turn your water valve back on—and then recheck each spot and be ready to turn the water off at the first sign of trouble!
If your pipe has burst, shut off the water right away and call Ken’s!
We hope you don’t have permanent damage to your pipes, but if you do, Ken’s is here for you 24 hours a day and 7 days a week—which is important since in the case of a burst pipe, time is of the essence! Call (864) 242-5511 at the first sign of trouble and we’ll do our best to minimize the water damage to your home.

.png)