 In a previous post, we covered how to repair a dripping tub faucet. Now we’re going to turn our attention to another common household issue—a leaky kitchen faucet!
In many cases, stopping an annoying drip for a kitchen faucet is simple enough for you to handle yourself without the help of a plumber. Here’s how to tackle it:
1. Shut off the water first!
We always want to emphasize this one before you work on any plumbing project, or your small DIY project could turn into a major disaster! Shut the water off before you unscrew any pipes to avoid having water gushing all over your kitchen floor.
Locate both shutoff valves (for hot and cold) underneath the sink, and be sure to twist them firmly to the off position.
Turn the tap(s) back on and let the residual water drain out.
2. Cover the drain
The last thing you want is for a screw or washer to fall into the drain, where it can wreak havoc on your garbage disposal or end up clogging your pipes. Put in the drain stopper, if you have one, or just lay a towel in the sink basin.
3. Carefully disassemble the faucet
This process will look slightly different depending on the model of kitchen faucet you have (single-lever vs. separate hot and cold controls, for example). Start with the handles and carefully unscrew them,
Be sure to make note of each piece, where it connects to, and what order it came out!
If you can’t find the screw on your faucet handle, there may be a decorative cap over it that you’ll need to carefully pry off with a flathead screwdriver.
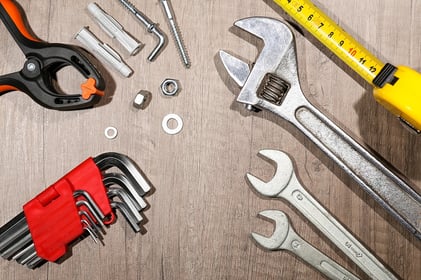
In some cases a Phillips head screwdriver will work, while in other cases you may need an Allen wrench (a.k.a. a hex key). You may also need an adjustable pipe wrench.
4. Replace worn or damaged parts
The most likely source of the leak is a worn-out piece that no longer creates a tight seal. This is often a rubber gasket or a washer. If the damage isn’t obvious, it’s generally safe to just replace the entire valve stem, cartridge, or cylinder mechanism.
If you’re working with an older faucet that has two handles, save yourself trouble down the road and replace both sets of hardware now. If the one side has worn out, it’s only a matter of time before the second one goes!
You can purchase some faucet parts on Amazon now—but if you’re not willing to wait two or more days for the new piece to come in (and most people aren’t!) you’ll have to do it the old-fashioned way and head to the hardware store.
Be sure you get an identical piece—faucet hardware is generally not interchangeable. It’s often easiest just to bring the worn part to the store and have an employee help you find the exact match.
5. Reassemble everything
Once you have the new pieces, swap out the damaged parts and then put everything back together in the same order that you took it out. If pieces are stiff or sticking, try a little plumber’s grease to help you get everything screwed together as securely as you can—after all, you don’t want to cause another leak when you’re finished!
Once everything’s together securely, turn the water back on and let it run (slowly!) through the new faucet for a few minutes. Don’t blast the water at full force to begin with.
Still have a leak?
If after all your best efforts the problem isn’t solved, OR if you discover a more serious plumbing problem in the process, you may need to get a professional plumber on hand. Ken’s Plumbing is available 24 hours a day—so if your project has taken you late into the night, you can give us a call without having to wait!


.png)